

When I shared this post on Instagram, I got a TON of messages about doing a tutorial for this DIY mermaid backdrop. I am excited to share this quick and super easy DIY with you today! This mermaid-themed backdrop is for Adaline’s birthday at the end of the month, but the colors could easily be switched up for any theme/occasion! I also want to preface this with a disclaimer that I am NOT super crafty, but I do love simple DIYs, and I think it makes such an impact on a party when you have a unique, “custom” piece!

Gather Supplies for the DIY mermaid backdrop:
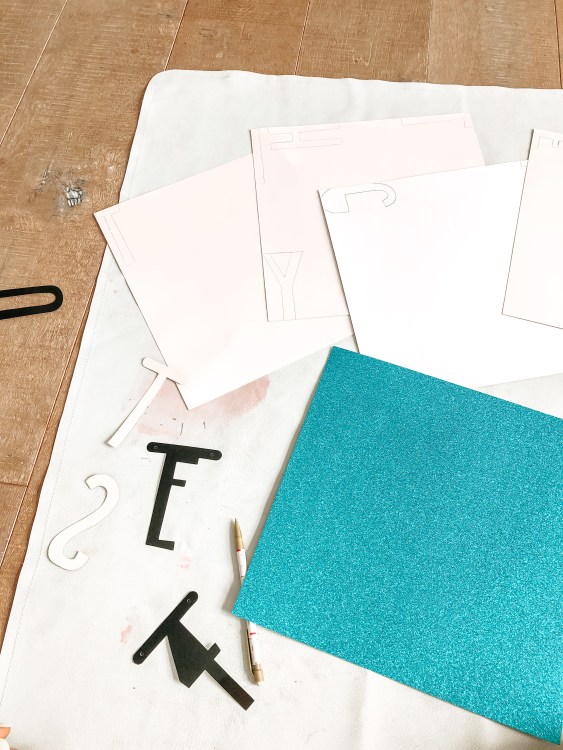
You will need:
- cardstock paper (I like using a mix of colors, but you could do it in all one color, or a pattern!)
- xacto knife
- cutting mat
- letter stencils (I use a banner, similar to this one. The straight lines are MUCH easier to cut out than a loopy font!)
- pencil
- poster board
- paint
- paint brushes (sponge ones work best for this!)
Let’s do this
- First, start by flipping the card stock over, if you’re using glittered paper. It makes it MUCH easier to write on and cut. Make sure if you do this, you are tracing the letters backwards, so the glitter side is facing the right way!

- I trace all the letters I need to use first, then I go through and carefully cut each out with my xacto knife. You could also use scissors, but I prefer the clean cut/precision of the knife.


- I used a scrap piece of cardboard we had laying around, but poster board would work great for the backdrop. I rounded up a few colors of paint that I thought had a mermaid vibe. Think: teal, aqua, seafoam, pastel pink, a creamy purple, metallic blue, and silver. I dipped my paintbrush in each color, and began randomly splatting it around on the backdrop. I liked getting big globs of paint, so it had some texture! I made sure to space the colors out, and not give it a pattern – I liked the abstract feel.


- I let that dry. Since the paint was pretty thick and layered, it took about 6 hours to be fully dry!
- I laid out my letters to see how I wanted to arrange them. Again, I liked it not feeling too perfect, so I didn’t measure.

- I used a hot glue to glue the letters to the finished board. Tacky glue sometimes slips around, and I wanted to make sure I didn’t smear any of the paint.
- I found some coral and seaweed felt shapes on Amazon, and hot glued those to the board as well, to add a little bit more texture!
The longest part of this DIY mermaid backdrop was simply waiting for the paint to dry! My game plan is to have this set up behind the food station, with the cake front and center. I will also be creating a balloon garland, like the one I made for her 3rd birthday party!
If you decide to try this craft, I would LOVE for you to tag me, so I can see how it turns out! Happy crafting 🙂


I love finding DIY birthday ideas! Thanks!
You’re so welcome!
Great work Jenna!
Thanks so much!!